Application Tips: The 50/50 technique
- Remove all slider caps and pot knobs.
- Make sure surface is entirely clean of debris otherwise any dust, dirt, or imperfections will be seen on the overlay.
- Do not try installing the overlay in one attempt, use the 50/50 technique as described in the following steps.
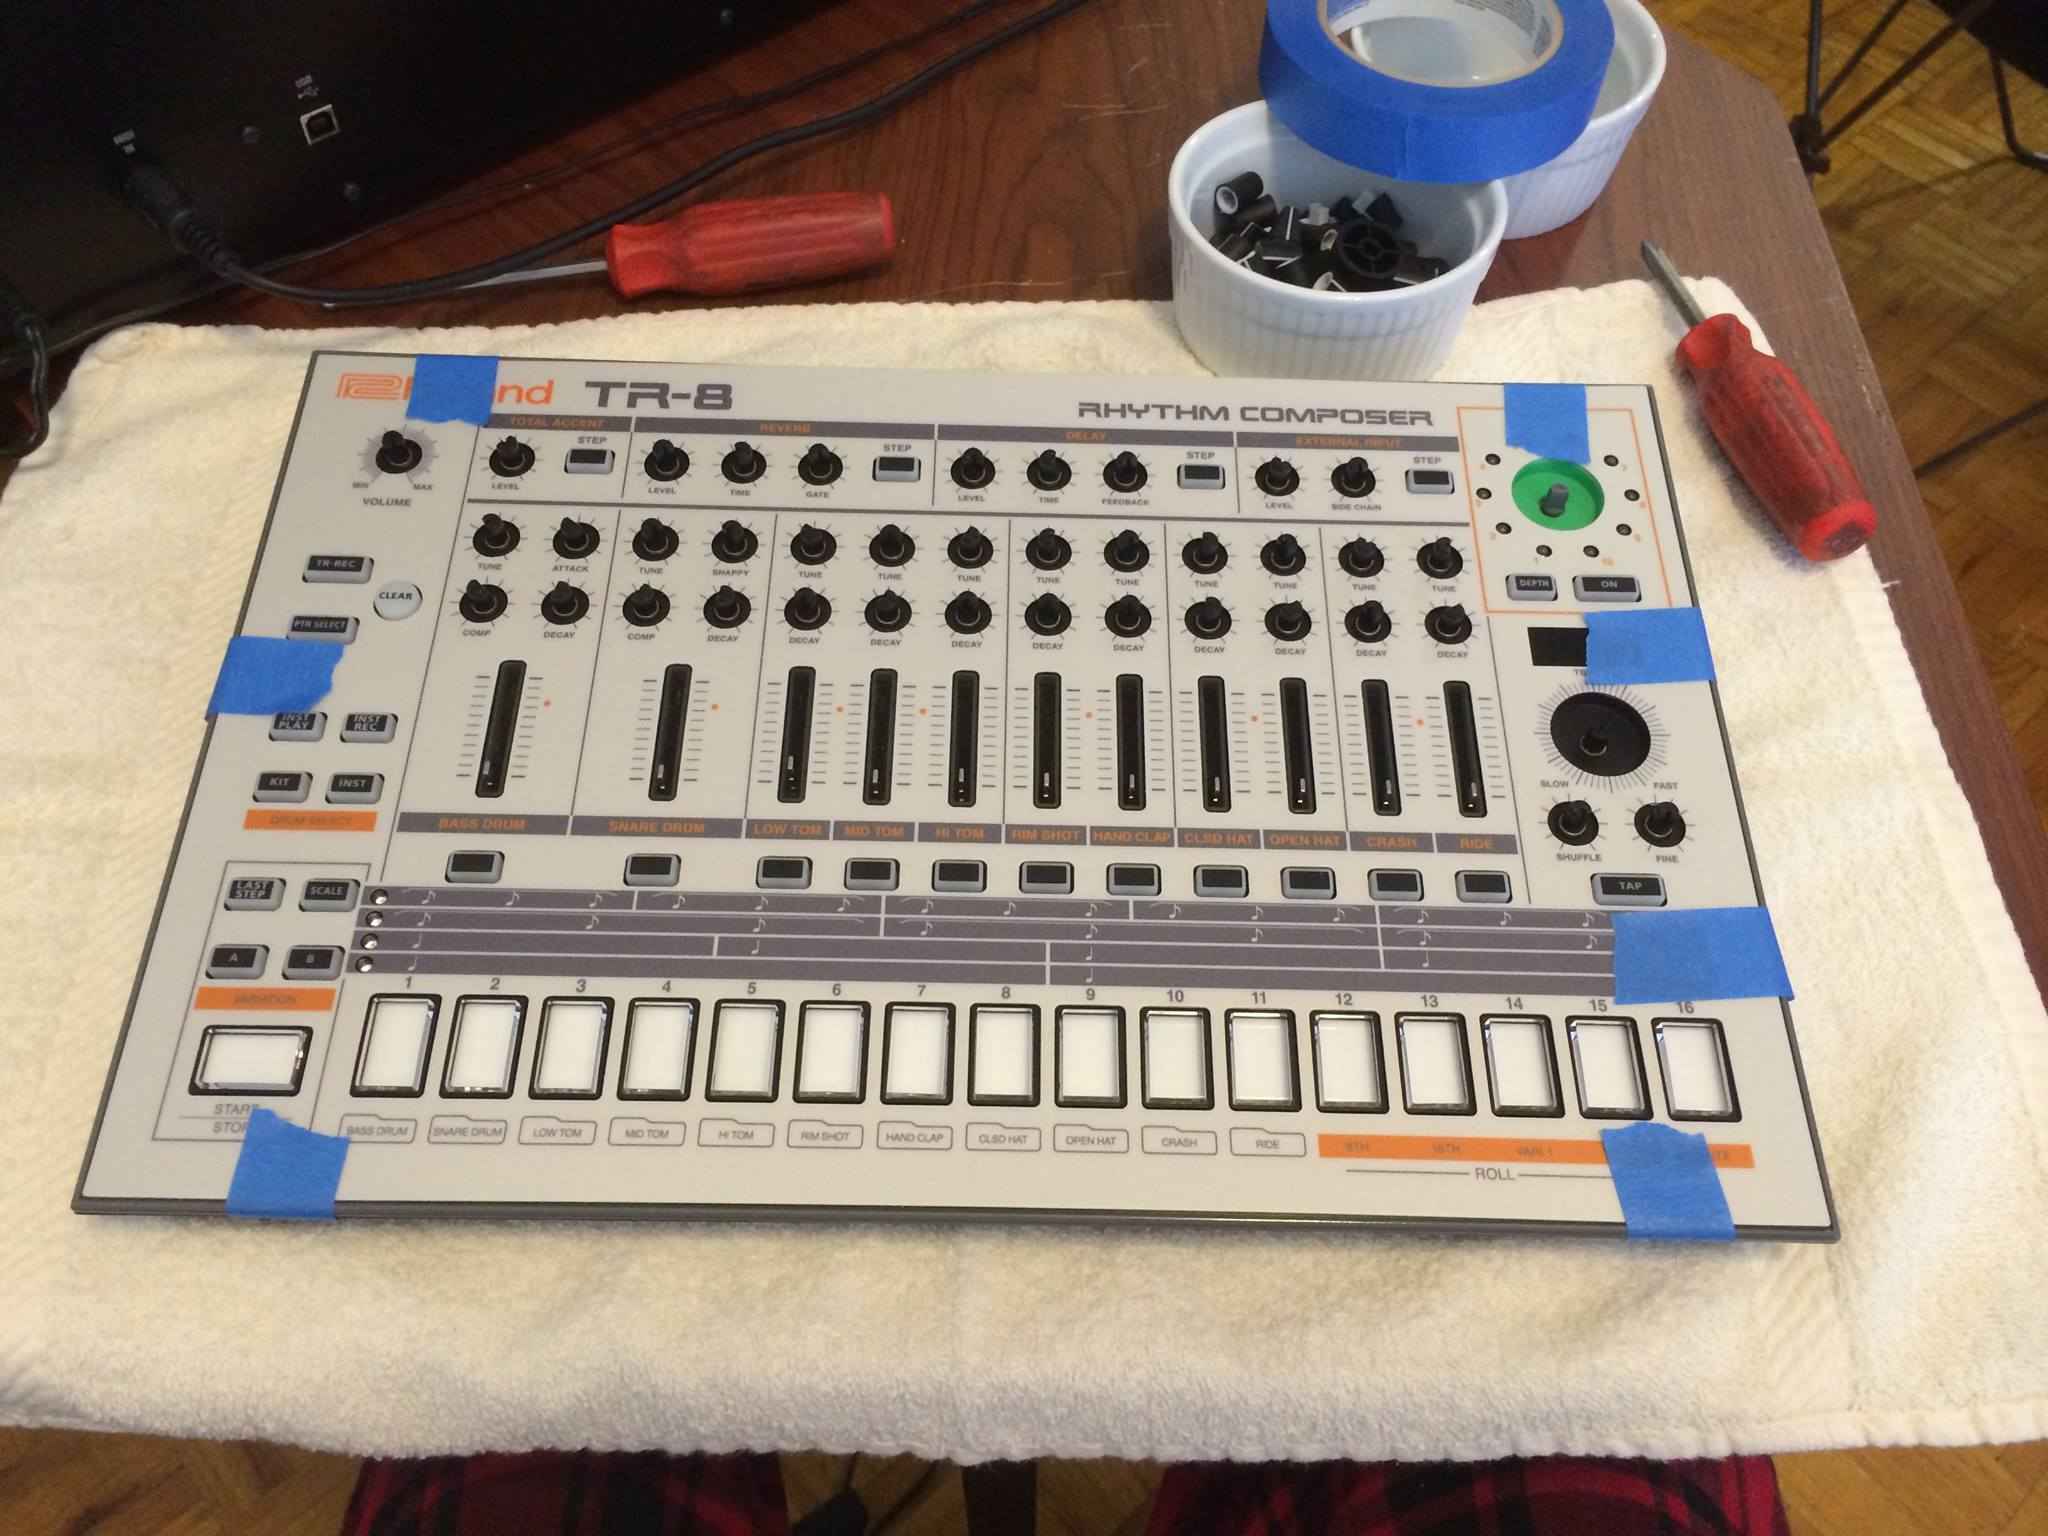
- DO NOT remove sticky back protective sheet. Align the new overlay into place and tape it into position using blue painters tape as shown in Step 1 photo.
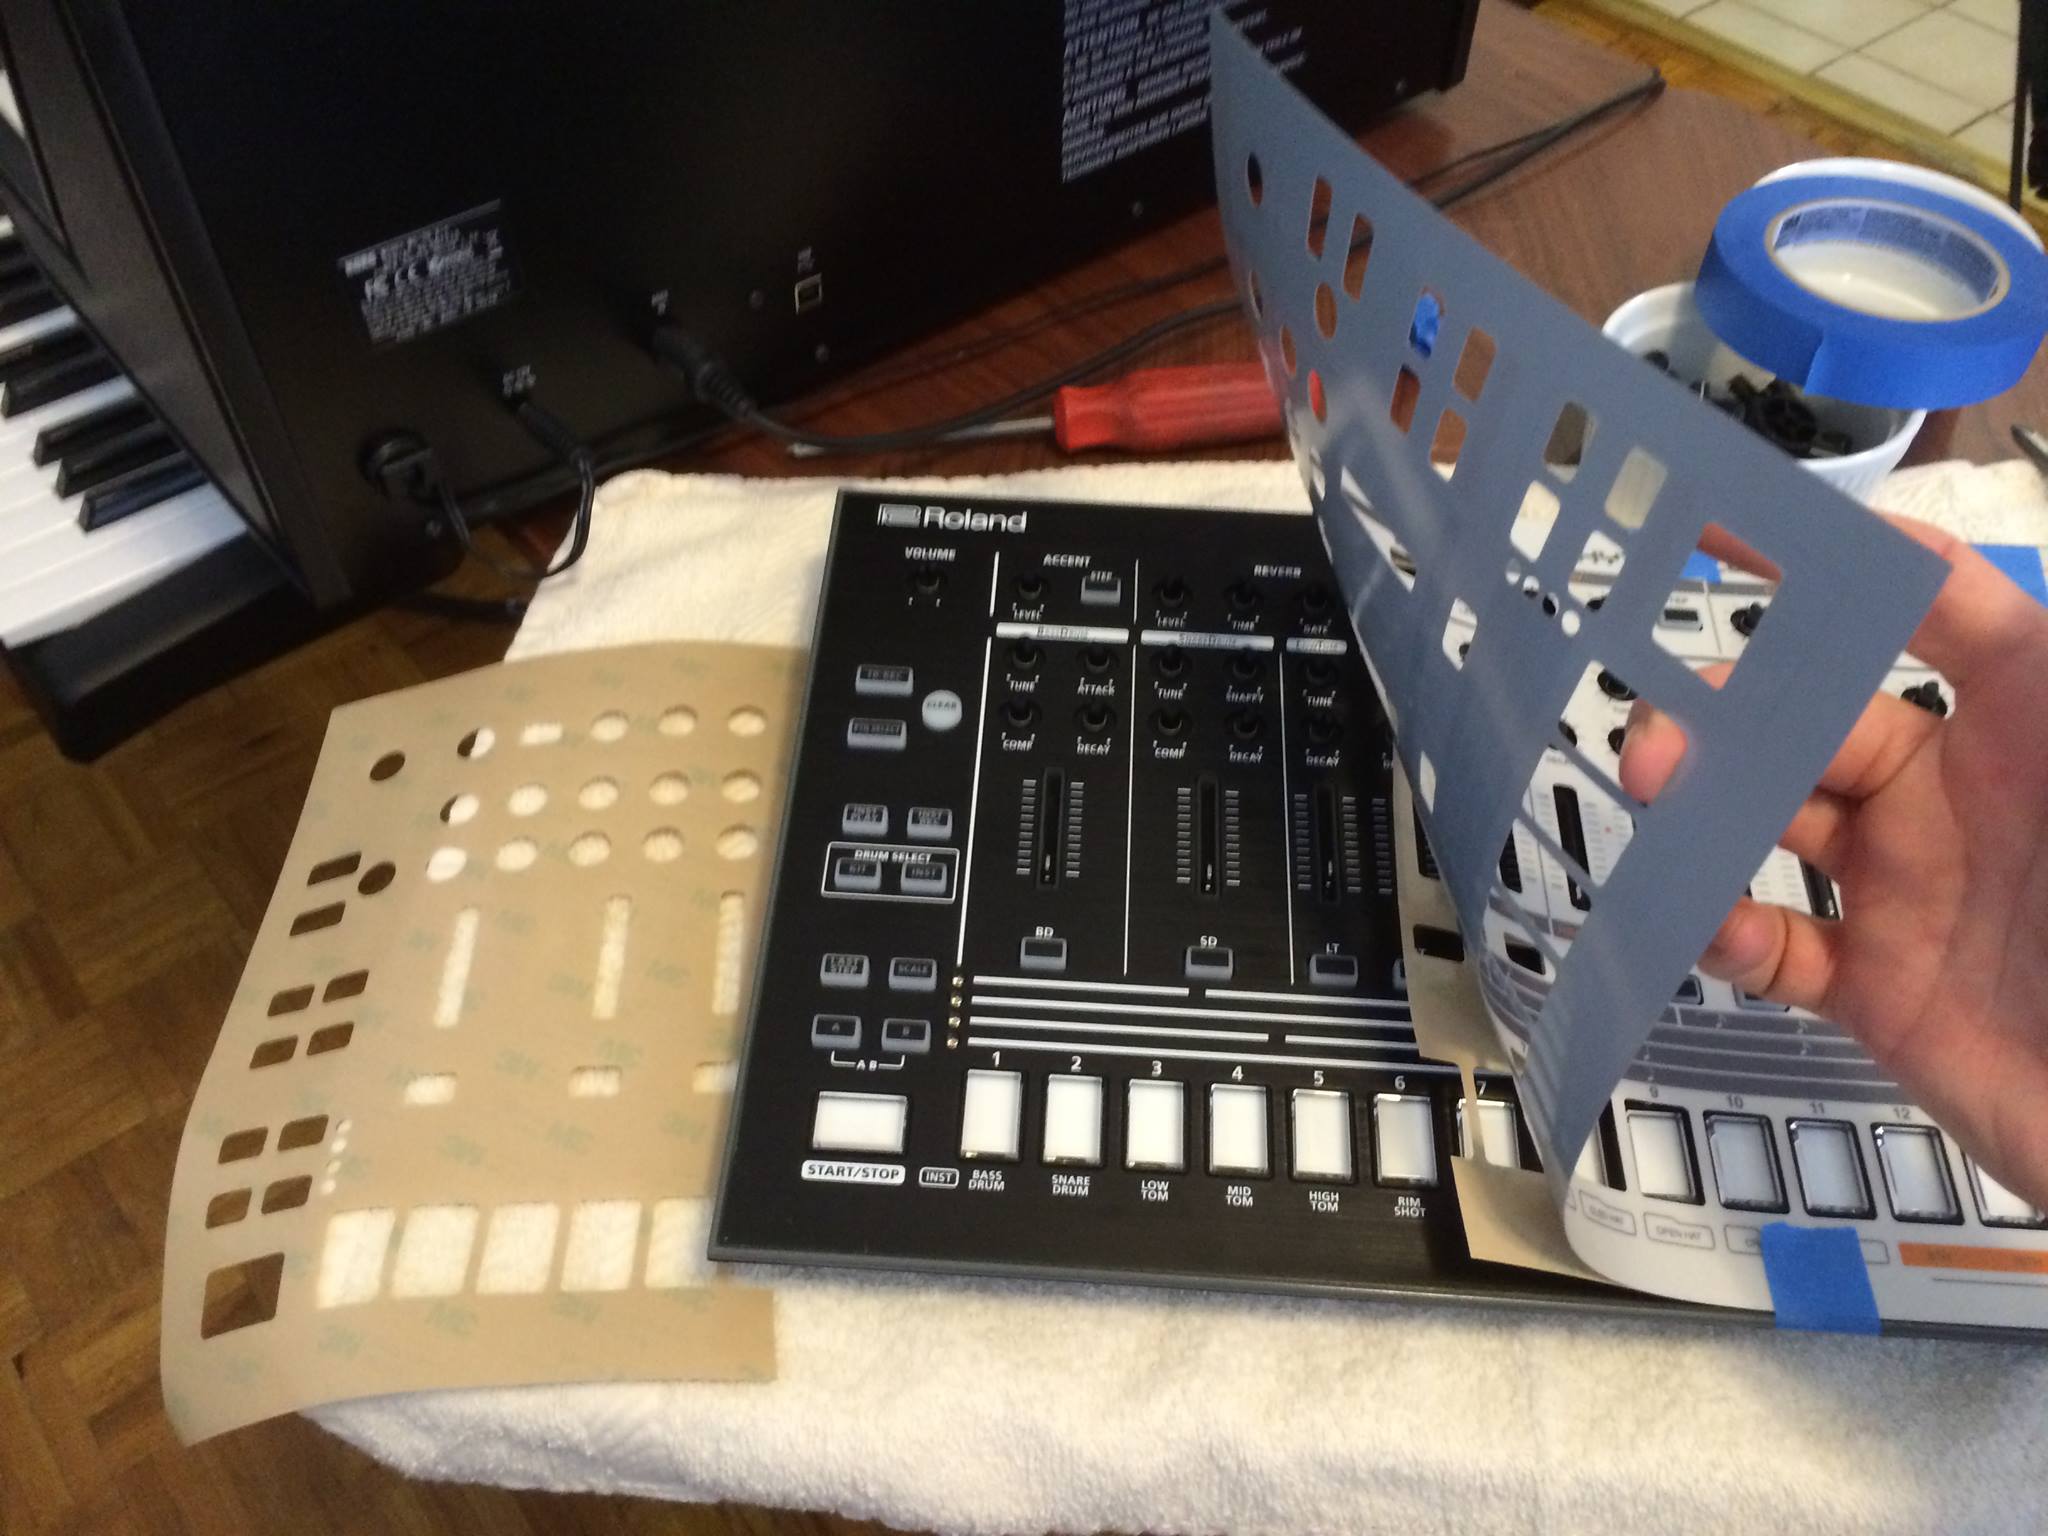
- Next remove the tape from the left side that held the overlay into place. Now pull back the left half of the protective sheet and gently apply the overlay as shown in Step 2 photo.
NOTE: Only tack down the far left edge leaving you enough room to still lift the overlay up to remove the right side of the backing sheet in the next step.
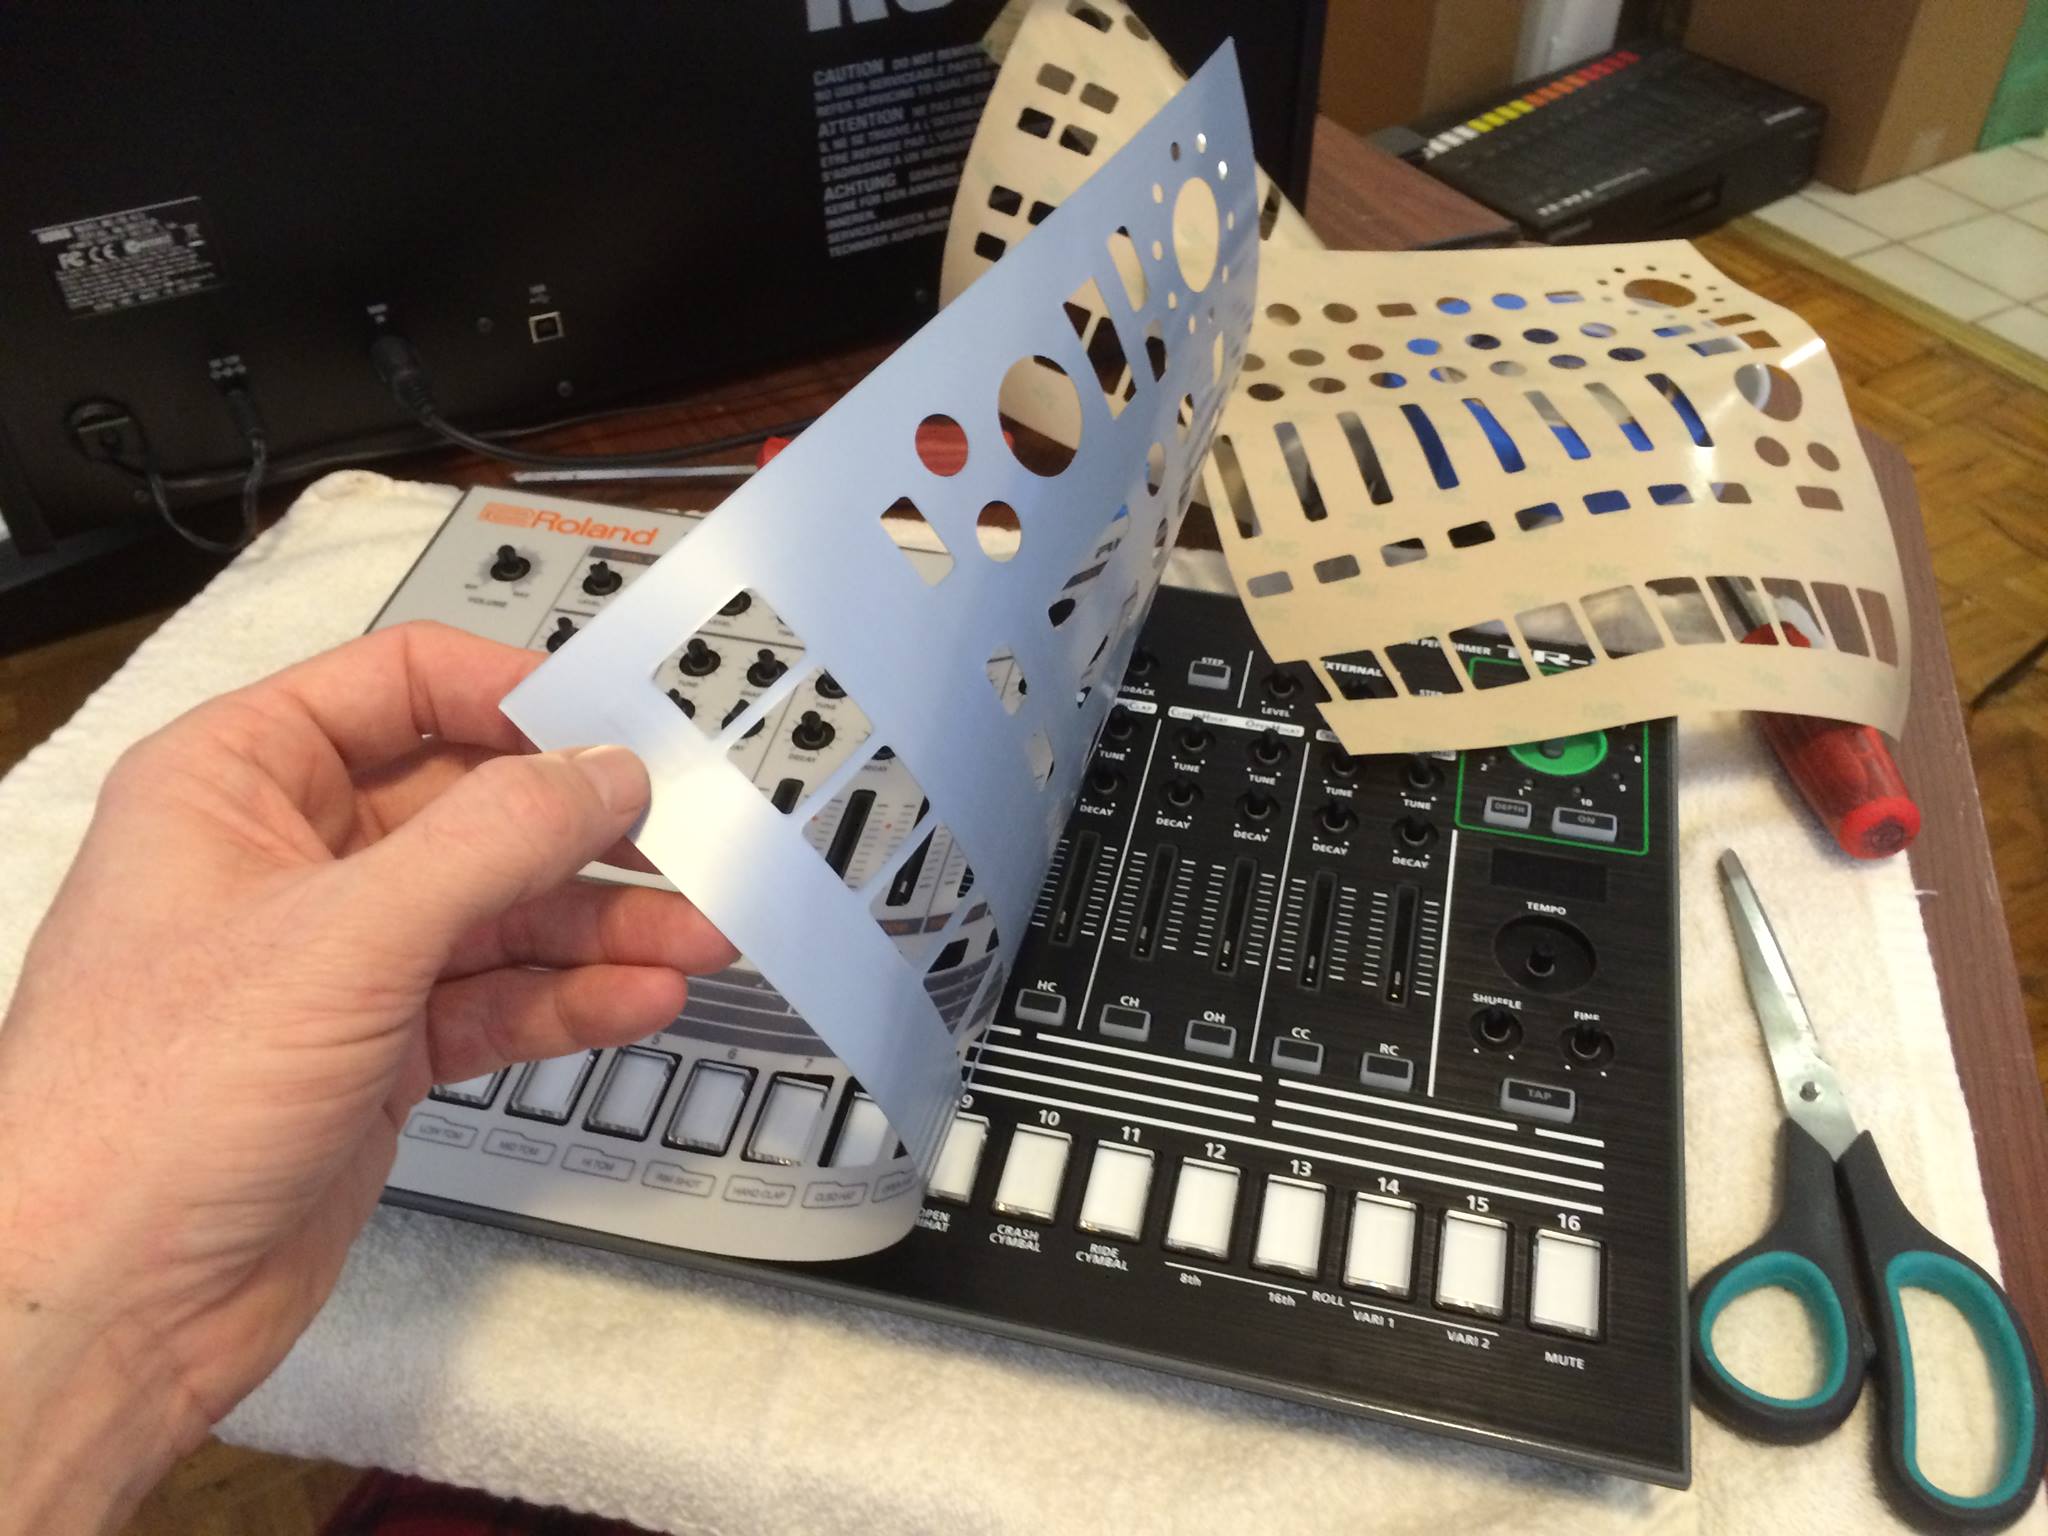
- Remove the tape from the right side that held the overlay into place. Now pull back the right half of the protective sheet and gently apply the overlay as shown in Step 3 photo.
- If satisfied with alignment you can now firmly press the overlay down. The 3M adhesive will achieve full bond in 24-48hrs. It’s OK to use your instrument in the meantime, the overlay will not slip or move.
- Reinstall slider caps and pot knobs.
|
|